Best Outdoor Shower Systems for Hot Water to Buy in July 2026
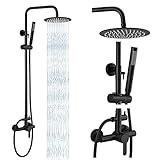
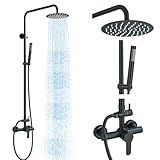
Rainsworth Outdoor Shower Kit Matte Black - Single Handle Brass Valve, 8 Inch Rain Shower Head and Handheld Spray Shower Fixture Combo, 304 Stainless Steel Wall Mount
-
VERSATILE FIT: ADJUSTABLE ADAPTER FOR 5.5 TO 6.3-INCH HOLE DISTANCES.
-
DURABLE QUALITY: MADE FROM RUST-RESISTANT 304 STAINLESS STEEL AND BRASS.
-
CONVENIENT DUAL MODE: EFFORTLESS SWITCH BETWEEN RAIN SHOWER AND HANDHELD SPRAYER.


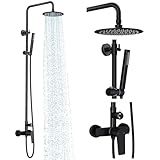
gotonovo Outdoor Shower Fixtures SUS304 Stainless Steel Rain Shower Kit Faucet High Pressure Wall Mount 2 Dual Function 8 Inch Showerhead and Handheld Spray Combo, Single Handle, Matte Black
-
DURABLE SUS 304 STEEL: MATTE BLACK FINISH RESISTS RUST AND DISCOLORATION.
-
VERSATILE SPRAY OPTIONS: SWITCH BETWEEN TOP SHOWER AND HANDHELD SPRAY EASILY.
-
SIMPLE INSTALLATION: RETROFIT EXISTING SHOWERS WITH INCLUDED HARDWARE EASILY.
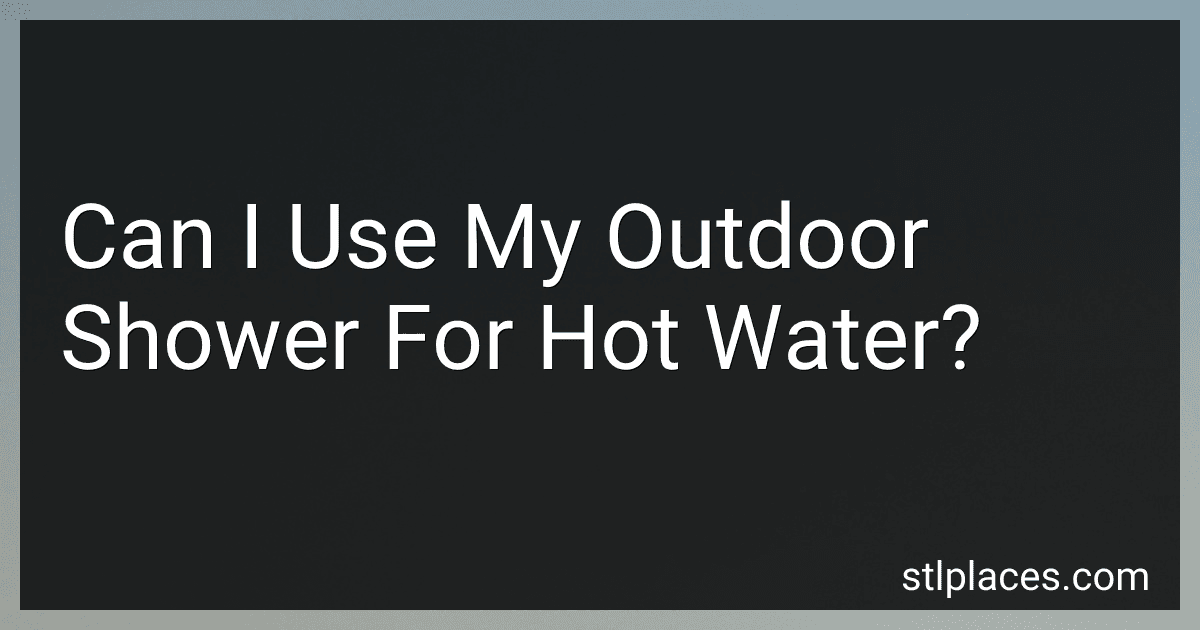
RALANDA Outdoor Shower Fixture,3 Functions Handle Tub Rainfall Shower Faucet Sets with Dial Thermometer Brass Valve, Exposed Shower System with 10'' Rainfall Shower Head Adjustable (Matte Black)
-
EFFORTLESS CLEANING: NO MORE PAINT CHIPPING OR HASSLE-JUST POWERFUL WATER.
-
3 SHOWER FUNCTIONS: ENJOY TOP, HANDHELD, AND SPOUT FOR THE ULTIMATE CLEAN.
-
SAFETY FIRST: ADJUSTABLE FEATURES PREVENT BURNS, ENSURING SAFE SHOWERS.
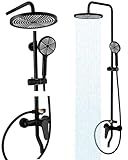
MOSSON Shower System Matte Black Outdoor Shower Fixtures with 8" Rain Shower Head Handheld Sprayer Single Handle 304 Stainless Steel Wall Mounted Shower Shower Faucet Combo for Bathroom or Backyard
- DURABLE 304 STAINLESS STEEL RESISTS TARNISH AND CORROSION.
- VERSATILE DUAL FUNCTION: RAIN SHOWER HEAD AND HAND SPRAYER INCLUDED.
- ADJUSTABLE HEIGHT & ADAPTER FOR EASY, FLEXIBLE INSTALLATION OPTIONS.
Artiwell Outdoor Shower Fixture System,with Rustproof Riser and Riser Extension, Double Handle Utility Shower Faucet with Showerhead and Soap Dish, Polished Chrome
-
STYLISH, RUSTPROOF DESIGN ENHANCES ANY OUTDOOR SPACE AESTHETIC.
-
HIGH-PERFORMANCE SHOWER HEAD ENSURES OPTIMAL SPRAY, EVEN AT LOW PRESSURE.
-
INCLUDES FREE ACCESSORIES FOR EASY INSTALLATION AND ADJUSTABLE HEIGHT.
RALANDA Outdoor Shower Fixture,3 Functions Handle Tub Rainfall Shower Faucet Sets with Dial Thermometer Brass Valve, Exposed Shower System with 10'' Rainfall Shower Head Adjustable (Brushed Gold)
- DURABLE DESIGN: MATTE BLACK FINISH RESISTS RUST, CHIPPING, AND PEELING.
- VERSATILE FUNCTIONALITY: 3 SHOWER OPTIONS FOR A COMPLETE CLEANSING EXPERIENCE.
- SAFETY FIRST: BUILT-IN THERMOMETER ENSURES SAFE, COMFORTABLE TEMPERATURES.
Aolemi Outdoor Shower Fixtures Kit Faucet System 3 Inch Center with Showerhead 2 Handle Exposed Shower with Brass Mix Valve Matte Black
-
DURABLE MATERIALS ENSURE LONG-LASTING PERFORMANCE IN ANY ENVIRONMENT.
-
ROTATABLE SHOWERHEAD & DUAL HANDLES FOR PERFECT WATER CONTROL EVERY TIME.
-
QUICK, HASSLE-FREE INSTALLATION WITH ALL NECESSARY ACCESSORIES INCLUDED.
Yes, you can use an outdoor shower for hot water, but it depends on the setup and equipment you have. To have hot water in an outdoor shower, you need a water heating system. This could be a solar shower bag, a propane-powered tankless water heater, or connecting the shower to your home's hot water supply. Solar shower bags are simple and use sunlight to heat the water, making them an eco-friendly option. Propane heaters are portable and provide on-demand hot water, suitable for locations without solar access. Connecting to a home's hot water system requires plumbing work but offers a continuous supply of hot water. Make sure to consider the local climate, as colder areas may require more robust heating options. Always ensure that any installation complies with local building codes and safety standards.
How to prevent freezing in an outdoor shower?
Preventing an outdoor shower from freezing requires a few proactive measures, especially if you live in a region with cold winters. Here are some strategies you can use:
- Shut Off Water Supply: The most effective method is to shut off the water supply to the outdoor shower when it's not in use during cold months. This can usually be done via a shut-off valve located indoors.
- Drain Pipes: After shutting off the water supply, drain all the pipes to ensure no water is left in them. Even a small amount of water can freeze and cause damage.
- Insulation: Insulate exposed pipes with foam pipe insulation, which is available at most hardware stores. This helps retain heat and prevents freezing.
- Heating Cables: Install heat tape or electric heating cables around pipes. These cables can prevent freezing by providing consistent heat.
- Frost-Free Fixtures: Consider installing frost-free taps and fixtures. These are designed to prevent freezing by shutting off water deeper in the plumbing system where it is less likely to freeze.
- Enclosure: Build an enclosure around the shower to protect it from wind, snow, and ice. This could be a temporary structure that can be easily dismantled in warmer months.
- Use Antifreeze: As a last resort, you can use RV antifreeze in the system. Make sure it's non-toxic and safe for use in water systems.
- Regular Use: If possible, use the shower regularly during cold periods. Running water is less likely to freeze, and frequent use may prevent freezing.
By implementing these measures, you can greatly reduce the risk of your outdoor shower freezing during the winter months.
What is the minimum water flow rate for an outdoor shower?
The minimum water flow rate for an outdoor shower can vary depending on the specific fixture and local regulations, but generally, it's around 1.5 to 2.5 gallons per minute (GPM). For eco-friendly designs, you might find some fixtures running at 1.5 GPM, which conserves water while still providing adequate flow for a comfortable shower. When selecting a showerhead or designing an outdoor shower system, it's important to ensure that your water source and pressure can support the chosen flow rate effectively. Always check for any local building codes or regulations that might dictate specific requirements for outdoor water fixtures.
How to integrate an outdoor shower with existing plumbing?
Integrating an outdoor shower with existing plumbing can be a practical and enjoyable addition to your home. Here is a step-by-step guide to help you install it:
- Planning and Design: Determine the location for your outdoor shower, ideally near the existing plumbing to minimize the complexity and cost. Consider the available drainage options to manage wastewater effectively. Choose a showerhead and fixtures designed to withstand outdoor conditions.
- Local Building Codes: Check with local authorities about building codes and regulations for outdoor plumbing installations. You might need a permit to proceed.
- Materials and Tools Needed: Outdoor-rated shower fixtures Pipes and fittings (copper, PVC, or PEX) Pipe insulation (optional, for cold climates) Shut-off valve Backflow preventer (to prevent contamination of the main water supply) Teflon tape Pipe wrench, screwdriver, drill, saw, pipe cutter, and other necessary tools
- Water Supply: Identify a nearby water supply line to tap into. For cold water, you can connect directly to the main line. If hot water is desired, you might need to connect to the nearest hot water line or install a small on-demand water heater if necessary.
- Shut-off Valve Installation: Begin by turning off the main water supply. Install a shut-off valve on the branch line where you will connect the shower to allow you to turn the water on and off independently.
- Connecting the Plumbing: Cut the appropriate section of the existing pipe to install a T-fitting for the new line. Make sure to clean and dry the cut section before proceeding. Attach the necessary pipes and fittings from the T-fitting to the location of the outdoor shower. Use Teflon tape on all threaded connections to prevent leaks. If using copper pipes, you will need to solder the joints; ensure you have the necessary safety gear and skills, or hire a professional plumber. If using PEX or PVC, ensure that you use the correct connectors and tools for secure connections.
- Installing the Shower Fixtures: Mount the shower post or panel securely to a wall or a custom-built frame. Attach the showerhead and control valve(s) as per the manufacturer's instructions. Connect the water supply line to the shower fixtures.
- Drainage: Ensure proper drainage that complies with local regulations-it might require a simple gravel bed with a drain or connection to an existing drainage system.
- Testing: Turn the water supply back on and test the system for leaks. Adjust any connections as needed to ensure that there are no leaks in the pipes or fittings.
- Finishing Touches: Consider adding privacy walls or screens if needed. Insulate exposed pipes if you live in a region with freezing temperatures. Maintain the area around the shower, especially the drainage, to prevent clogs.
If you're not comfortable with any part of this process, consider hiring a professional plumber to ensure the installation is done correctly and safely.
What is a thermostatic mixing valve?
A thermostatic mixing valve (TMV) is a device used to regulate and maintain a desired water temperature by blending hot and cold water. It is designed to automatically control the mixing of these two water sources to ensure a consistent and safe output temperature. TMVs are commonly used in various applications such as showers, sinks, and baths to prevent scalding by maintaining water at a safe temperature, even when there are fluctuations in water pressure or temperature in the supply lines.
TMVs are especially important in settings where temperature consistency and safety are crucial, such as in hospitals, nursing homes, and residences with young children or elderly individuals. They help prevent accidental burns and improve overall comfort by ensuring that the water temperature remains stable. TMVs often have built-in mechanisms that will shut off the flow of water if the hot or cold supply fails, offering an additional layer of safety.