Best GUI Layout Tools to Align Buttons to Buy in July 2026
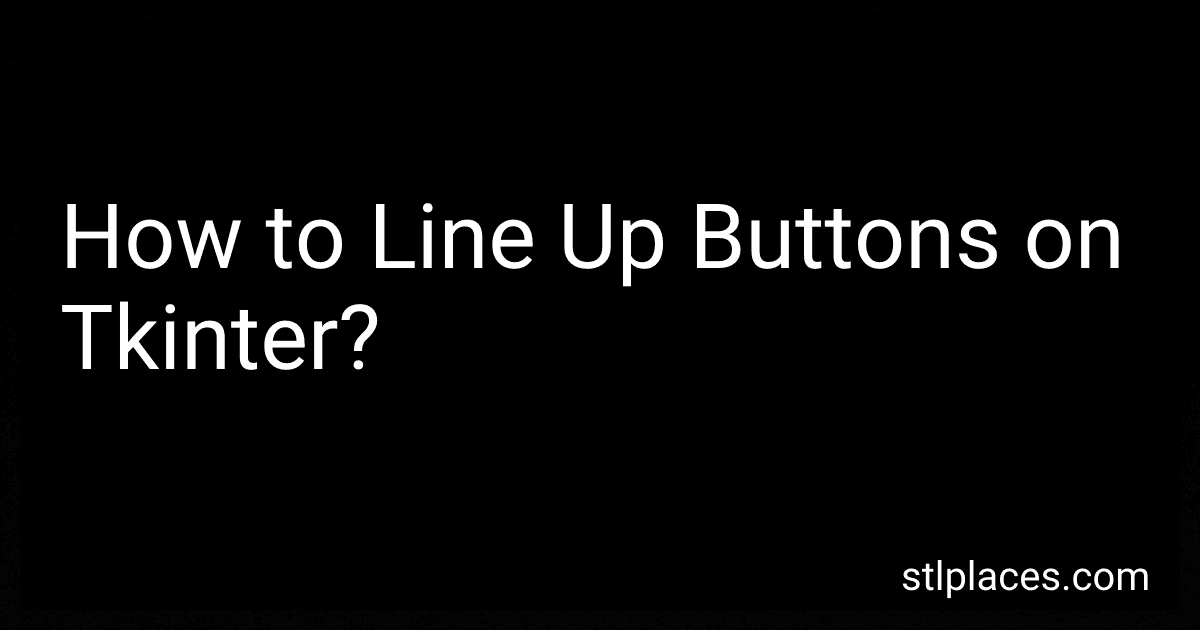
Saker Woodworking Scriber Marking Line Ruler, Adjustable Aluminum Alloy Sliding T-Square Ruler,Precision Line Drawing aid Ruler with Angle Adjustment Scale
- MEASURE ANGLES AND LENGTHS EASILY WITH OUR MULTIFUNCTIONAL T-SQUARE.
- DURABLE ALUMINUM CONSTRUCTION ENSURES LONG-LASTING ACCURACY AND STRENGTH.
- INCLUDES A MECHANICAL PENCIL AND REFILLS FOR ALL YOUR DRAWING NEEDS.


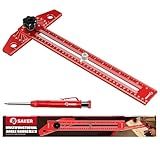
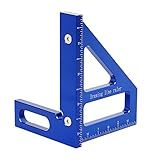
Carpenter's Square Ruler 3D Multi-Angle Measuring 22.5-90 Degree with Position Pin Layout Aluminum Alloy Miter Triangle Ruler Layout Measuring Tools Carpentry Tool (Metric)
-
VERSATILE 3D DESIGN: MEASURES ANGLES 0-90° WITH PRESET OPTIONS.
-
PORTABLE & EASY TO USE: DISASSEMBLES FOR CONVENIENT TRANSPORT.
-
DURABLE CONSTRUCTION: HIGH-QUALITY ALUMINUM FOR LASTING ACCURACY.
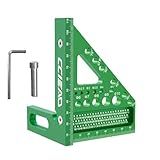
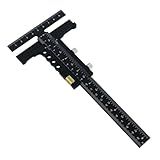
T Shaped Carpenter Layout Scriber with Fine Tuning, Precision Multi-function Marking Measuring Gauge, Metric & Inch Sliding Marking Gauge Woodworking
-
VERSATILE ALL-IN-ONE TOOL FOR MARKING, MEASURING, AND SLOTTING NEEDS.
-
FINE-TUNING DESIGN ENSURES PRECISE MEASUREMENTS FOR ACCURACY AND SPEED.
-
DURABLE ALUMINUM ALLOY CONSTRUCTION WITH CLEAR, LASER-ENGRAVED SCALES.
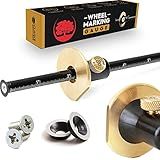
Clarke Brothers Wheel Marking Gauge - Woodworking Marking Scriber Kit With 2 Replacement Cutters - Wood Marking Tools With Graduated Inch & MM Scale - Solid Metal Bar Wood Scribe Tool For Carpenter
-
PRECISION LINE MARKING: ACHIEVE FLAWLESS CUTS WITH LASER-ENGRAVED GRADUATIONS.
-
VALUE-ADDED KIT: INCLUDES 2 HARDENED STEEL CUTTERS FOR FASTER RESULTS!
-
DURABLE CRAFTSMANSHIP: MADE WITH HIGH-QUALITY MATERIALS FOR LONGEVITY.
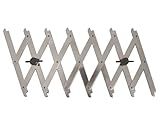
Point 2 Point Mk2 Equidistant Measuring, Marking, Layout Tool - With Center Point Finder
- QUICK ADJUSTMENTS FOR PRECISE AND CONSISTENT MEASUREMENTS EVERY TIME.
- AUTOMATIC CENTER POINT FINDER FOR FAST, RELIABLE BOARD ALIGNMENT.
- VERSATILE FOR WOODWORKING, CRAFTING, SEWING, AND MORE LAYOUT NEEDS.
KETIPED Imperial 3D Multi-Angle Measuring Ruler,45/90 Degree Aluminum Alloy Woodworking Square Protractor, Miter Triangle Ruler High Precision Layout Measuring Tool for Engineer Carpenter,003B
-
DURABLE ALUMINUM ALLOY CONSTRUCTION ENSURES LONG-LASTING PERFORMANCE.
-
MULTI-ANGLE RULER SIMPLIFIES MARKING AND MEASURING FOR PROJECTS.
-
IDEAL FOR DIYERS AND CARPENTERS; PERFECT GIFT FOR CREATIVE FRIENDS!
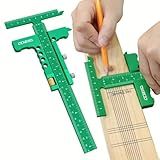
Leefasy T Shaped Wood Workings Scriber for Carpenter Layout and Measuring, Precision Woodworking Ruler Scribing Tool, Black Accessories Slide Ruler Marking Measuring Gauge, with Fine Tuning
- CLEAR SCALE FOR EFFICIENCY: ACCURATE ETCHING FOR EASY READABILITY.
- ERGONOMICALLY DESIGNED: COMFORT-FOCUSED HANDLE ENHANCES USER EXPERIENCE.
- VERSATILE FUNCTIONALITY: COMBINES MARKING, MEASURING, AND GROOVING.
To line up buttons on tkinter, you can use the grid manager or the pack manager. With the grid manager, you can use the grid() method to specify the row and column for each button. With the pack manager, you can use the pack() method to stack the buttons vertically or horizontally. You can also use the place() method to specify the coordinates of each button on the tkinter window. Experiment with the different methods to find the layout that works best for your buttons.
How to center a button in tkinter?
To center a button in Tkinter, you can use the pack() method with the side and anchor arguments. Here is an example:
import tkinter as tk
root = tk.Tk()
button = tk.Button(root, text="Centered Button") button.pack(side=tk.TOP, anchor=tk.CENTER)
root.mainloop()
In this example, the button is centered at the top of the window. You can change the side and anchor arguments to position the button in different places within the window.
What is the columnspan parameter in tkinter?
The columnspan parameter in Tkinter is used in grid geometry management to specify the number of columns that a widget should span in the grid. It is used when placing widgets in a grid layout to control how many columns the widget should occupy. By default, widgets occupy only one cell in the grid.
For example, if you want a widget to span across two columns in a grid, you can set the columnspan parameter to 2. This allows the widget to occupy two columns in the grid layout.
How to position buttons in a grid layout in tkinter?
To position buttons in a grid layout in Tkinter, you can use the grid() method of the Button widget. You can specify the row and column in which the button should be placed within the grid layout. Here is an example code snippet:
import tkinter as tk
root = tk.Tk()
Create buttons
button1 = tk.Button(root, text="Button 1") button2 = tk.Button(root, text="Button 2") button3 = tk.Button(root, text="Button 3")
Position buttons in a grid layout
button1.grid(row=0, column=0) button2.grid(row=0, column=1) button3.grid(row=1, column=0)
root.mainloop()
In this example, we are creating three buttons (Button 1, Button 2, and Button 3) and positioning them in a grid layout using the grid() method. Button 1 is placed in the first row and first column, Button 2 is placed in the first row and second column, and Button 3 is placed in the second row and first column. You can adjust the row and column values to change the position of the buttons within the grid layout.
How to create a row of buttons in tkinter?
To create a row of buttons in tkinter, you can use the grid layout manager. Below is an example code that demonstrates how to create a row of buttons using the grid layout manager in tkinter:
import tkinter as tk
Create the main window
root = tk.Tk()
Create a list of button labels
button_labels = ['Button 1', 'Button 2', 'Button 3', 'Button 4']
Create and place the buttons in a row
for i, label in enumerate(button_labels): button = tk.Button(root, text=label) button.grid(row=0, column=i)
Start the tkinter main loop
root.mainloop()
In this code snippet, we first import the tkinter module and create the main window using tk.Tk(). We then define a list of button labels. Next, we create a button for each label using a for loop and place it in the main window using the grid() method with the row and column parameters set accordingly.
Finally, we start the tkinter main loop to display the GUI window with the row of buttons.
What is the relief parameter in tkinter?
In tkinter, the relief parameter defines the appearance of a border around a widget. It specifies how the border should be displayed on the widget, such as sunken, raised, ridge, groove, flat or solid. This parameter is commonly used with the Frame widget to create visually appealing borders around other widgets.