Best FuelPHP Deployment Tools to Buy in July 2026

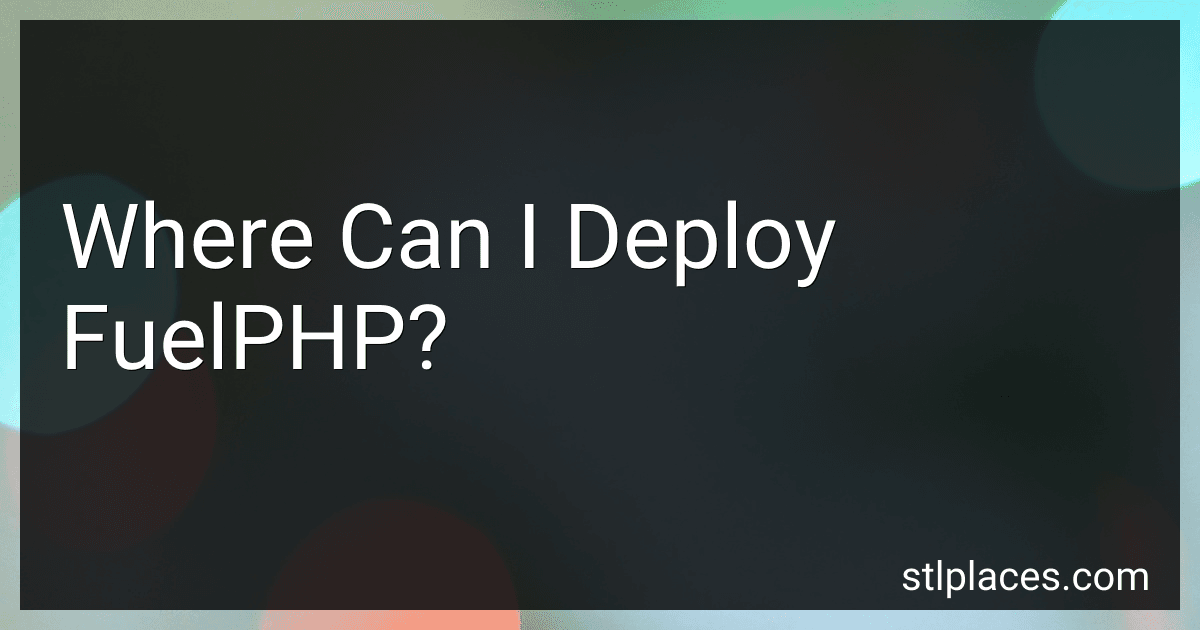
Fuel Tank Lock Ring Tool Fuel Pump Senders Removal Install Tools Compatible with Ford Chrysler Dodge Chevy Replacement for BMW Benz Volvo Jeep Equivalent OEM 6599
-
WIDE COMPATIBILITY: FITS MANY MAJOR VEHICLE BRANDS, 2004 AND NEWER.
-
EASY TO USE: INSTANTLY REMOVES FUEL PUMP LOCK RINGS, NO TOOLS NEEDED!
-
DURABLE DESIGN: STRONG STEEL CONSTRUCTION WITH RUST-RESISTANT COATING.


YEDYAO 8-Piece Fuel Line Disconnect Tool Set, Fuel Line/Hose Clamp/Removal Pliers, Electrical Disconnect/Push Pin Tools, Relay Puller, Panel Clip Remover & Filter Caliper with Storage Case.
- 🚗 SPECIALIZED TOOLS FOR EFFICIENT FUEL LINE REPAIRS AND MAINTENANCE.
- 🔧 DURABLE CARBON STEEL CONSTRUCTION ENSURES LONG-LASTING RELIABILITY.
- 🌟 VERSATILE FOR COMMON CAR TYPES, TACKLING VARIOUS FUEL LINE TASKS.

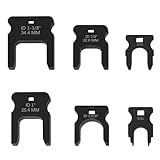
MSLANE Fuel Tank Lock Ring Tool Kits, Universal Fuel Pump Removal Tool 4 PCS with 1 Wrench, Adjustable Fuel Pump Lock Ring Senders Removal Install Tools
- UNIVERSAL FIT: ADJUSTABLE TOOLS FOR DIVERSE FUEL TANK LOCK RINGS.
- DURABLE MATERIAL: CHROME-VANADIUM STEEL ENSURES LONGEVITY AND STRENGTH.
- EASY TO USE: SIMPLIFIES FUEL PUMP SERVICING WITHOUT DAMAGE.

Orion Motor Tech 1/2" Dr Diesel Injector Socket Wrench Set, 6pc 12pt Diesel Fuel Socket Set with 12 14 16 17 18 19mm Wrenches, L-Type Diesel Mechanic Tool for Dismantling Fuel Line with Case
- VERSATILE SET: COVERS 6 COMMON SIZES FOR EASY INJECTOR LINE HANDLING.
- COMPATIBLE DESIGN: L-TYPE SOCKETS FIT 1/2 DRIVES FOR VERSATILE USE.
- DURABLE BUILD: MADE FROM ROBUST STEEL WITH CORROSION-RESISTANT COATING.
smilfuy Fuel Line Plier, Quick Disconnect Release Removal Tool, Petrol Hose Pipe Clamp Clip with Handle, Universal Fuel Line Clip Removal Plier, Pipe Clip Repair Tool for Most Cars (Red)
- HIGH-QUALITY CARBON STEEL ENSURES DURABILITY AND LONG SERVICE LIFE.
- ERGONOMIC HANDLE DESIGN PROVIDES COMFORT AND PREVENTS USER FATIGUE.
- EASY-TO-USE PLIERS SIMPLIFY FUEL LINE CONNECTIONS, SAVING YOU TIME.
DEF&Fuel Line Disconnect Tool Set, Easy Access to Breather/Fuel/Coolant/DEF Line Disconnect Tool Compatible with 2012+ Ford Chevy Silverado Tahoe Suburban GMC Sierra Yukon
- COMPACT DESIGN FOR HARD-TO-REACH DEF FUEL LINE CONNECTORS.
- VERSATILE SET WITH SIX SIZES TO FIT VARIOUS VEHICLE MODELS.
- 1/4 SQUARE HOLES ALLOW EASY ACCESS WITH CLAMPS OR WRENCHES.
FuelPHP can be deployed on various hosting platforms and servers, making it a flexible framework for web development. Some of the popular options for deploying FuelPHP include shared hosting, virtual private servers (VPS), dedicated servers, cloud hosting providers, and even locally on your own machine for development purposes.
Shared hosting: FuelPHP can be deployed on shared hosting providers that support PHP. These are affordable options suitable for small-scale projects or beginner developers.
Virtual Private Servers (VPS): A VPS allows you to have more control over your hosting environment compared to shared hosting. It provides dedicated resources and better scalability, making it suitable for medium-sized projects.
Dedicated servers: If you require complete control and resources for your application, deploying FuelPHP on dedicated servers is an option. It offers maximum performance and flexibility, making it ideal for large-scale projects with heavy traffic.
Cloud hosting providers: FuelPHP is compatible with popular cloud hosting providers such as Amazon Web Services (AWS), Google Cloud Platform (GCP), Microsoft Azure, and DigitalOcean. These providers offer scalable infrastructure and various services that can enhance your FuelPHP application.
Local development: FuelPHP can be deployed and run on your local development environment using software like XAMPP or WAMP. This allows you to develop and test your application before deploying it to a live server.
Ultimately, the choice of deployment platform depends on your project's requirements, budget, and level of control needed. It's important to consider factors like performance, scalability, security, and support when deciding where to deploy your FuelPHP application.
How to deploy FuelPHP on a Google Cloud Platform instance?
To deploy FuelPHP on a Google Cloud Platform (GCP) instance, you can follow these general steps:
- Create a new Ubuntu instance on the Google Cloud Platform: Go to the GCP Console (console.cloud.google.com). Create a new project or select an existing one. Navigate to the Compute Engine section and click on "Create Instance". Choose an appropriate VM instance type, such as "n1-standard-2". Under the "Boot Disk" section, choose an Ubuntu LTS version. Configure other settings as per your requirements and click "Create".
- SSH into the newly created instance: Click on the SSH button next to the instance in the GCP Console, or use the Google Cloud SDK or SSH client to connect to the instance.
- Install necessary dependencies: Update the package index: sudo apt update Install Apache2 web server: sudo apt install apache2 Install PHP and required PHP extensions: sudo apt install php libapache2-mod-php php-mysql php-xml php-mbstring php-zip Install MySQL if required: sudo apt install mysql-server
- Configure Apache and PHP: Configure Apache's virtual host to point to the appropriate directory where your FuelPHP application will reside. Enable Apache's rewrite module: sudo a2enmod rewrite Restart Apache for the changes to take effect: sudo service apache2 restart
- Clone your FuelPHP application: Use Git to clone your FuelPHP application into the directory configured in the virtual host.
- Install Composer and dependencies: Install Composer: sudo apt install composer Navigate to the FuelPHP application directory: cd /path/to/fuelphp/app Run Composer to install dependencies: composer install
- Configure FuelPHP: Copy the fuel/app/config/*example.php files to fuel/app/config/*.php and edit them according to your application's requirements, especially the database connection settings.
- Set up the database: If you installed MySQL earlier, create a new database and user for your FuelPHP application. Import your database schema into the newly created database.
- Restart Apache: Restart Apache to apply all configurations and changes made: sudo service apache2 restart
- Access your FuelPHP application: In the GCP Console, get the public IP address of your instance. Open a web browser and enter the IP address, and you should be able to access your FuelPHP application.
Ensure that you have a proper firewall setup and have security measures in place to protect your instance and application. This process may vary based on your specific requirements and server configuration, so make sure to consult the official FuelPHP documentation and GCP documentation for detailed information.
How to deploy FuelPHP using FTP (File Transfer Protocol)?
To deploy FuelPHP using FTP, you can follow these steps:
- Prepare your local development environment by creating a production-ready build. This typically involves running any necessary build scripts or packaging utilities to generate optimized and minified code.
- Connect to your hosting server using an FTP client. If you don't have an FTP client, you can use popular ones like FileZilla, WinSCP, or Cyberduck. Enter your FTP credentials (hostname, username, password, and port) to establish a connection.
- Once connected, navigate to the desired directory where you want to install FuelPHP. This could be the root directory of your domain (e.g., public_html or www) or a subdirectory if you want to host the application within another folder.
- On your local machine, locate the build files generated in step 1. This typically involves finding the project's public folder, which contains the web-accessible files.
- Select all the files and directories within the public folder and upload them to the server by dragging them into the FTP client or using the available upload options.
- Depending on your hosting environment, you may need to ensure that certain directory permissions are set correctly. Typically, you would need to set the permissions of the fuel/app/logs and fuel/app/cache directories to be writable by the server. Consult your hosting documentation or contact your hosting provider for specific instructions on modifying directory permissions.
- After the files are uploaded, navigate to the FuelPHP application's root directory on the server using your FTP client.
- Locate the fuel/app/config directory and check if any configuration files need to be modified to match your production environment. Common configuration changes include database credentials, cache configurations, and base URL settings.
- Once you've made the necessary configuration changes, save the files back to the server, overwriting the existing ones.
- Finally, test your deployed FuelPHP application by opening a web browser and accessing the URL of your application. For example, if your domain is example.com and the application was deployed to the root directory, access http://example.com in your browser.
That's it! Your FuelPHP application should now be deployed and running on your hosting server using FTP. Remember to regularly backup your application and follow best practices for securing your hosting environment.
How to deploy FuelPHP with SSL (Secure Sockets Layer) encryption?
To deploy FuelPHP with SSL encryption, follow these steps:
- Obtain an SSL certificate: Purchase an SSL certificate from a trusted certificate authority (CA) or obtain a free SSL certificate from Let's Encrypt.
- Configure your web server: Configure your web server (e.g., Apache or Nginx) to enable SSL/TLS and set up the SSL certificate. The specific steps to configure SSL depend on your web server software. Consult the documentation for your web server for detailed instructions.
- Update your Virtual Host configuration: Update your web server Virtual Host configuration file to include the necessary SSL directives. This typically involves specifying the SSL certificate file path and enabling SSL/TLS protocols and ciphers.
- Update your FuelPHP project settings: Update the base_url setting in your FuelPHP project's config.php file to use the https:// protocol instead of http://. Make sure to specify the correct domain name.
- Update your application code: Check your application code for any hard-coded URLs that may need to be updated from http:// to https://. This includes any links, redirects, or assets (e.g., images, scripts) that are included using absolute URLs.
- Test your application: Restart your web server and visit your FuelPHP application using https:// in your web browser. Ensure that all pages load over SSL/TLS without any errors or warnings.
By following these steps, you'll be able to deploy FuelPHP with SSL encryption, providing a secure connection between your application and users.