Best Web Hosting Services for Laravel Apps to Buy in July 2026
Web Hosting For Dummies


WordPress To Go: How To Build A WordPress Website On Your Own Domain, From Scratch, Even If You Are A Complete Beginner

The Ultimate WHM Guide (Web Hosting with cPanel)
Web Hosting: Tips About Web Hosting You Can't Afford to Miss
Full Stack Web Development for 2025: The Complete Guide to Modern Web Apps
Web Development with Node and Express: Leveraging the JavaScript Stack
Guide For Unlimited Free Web Domains and Hosting: Free Web Domains and Hosting Guide
Web Hosting Secrets: Tips That Will Make You A Guru
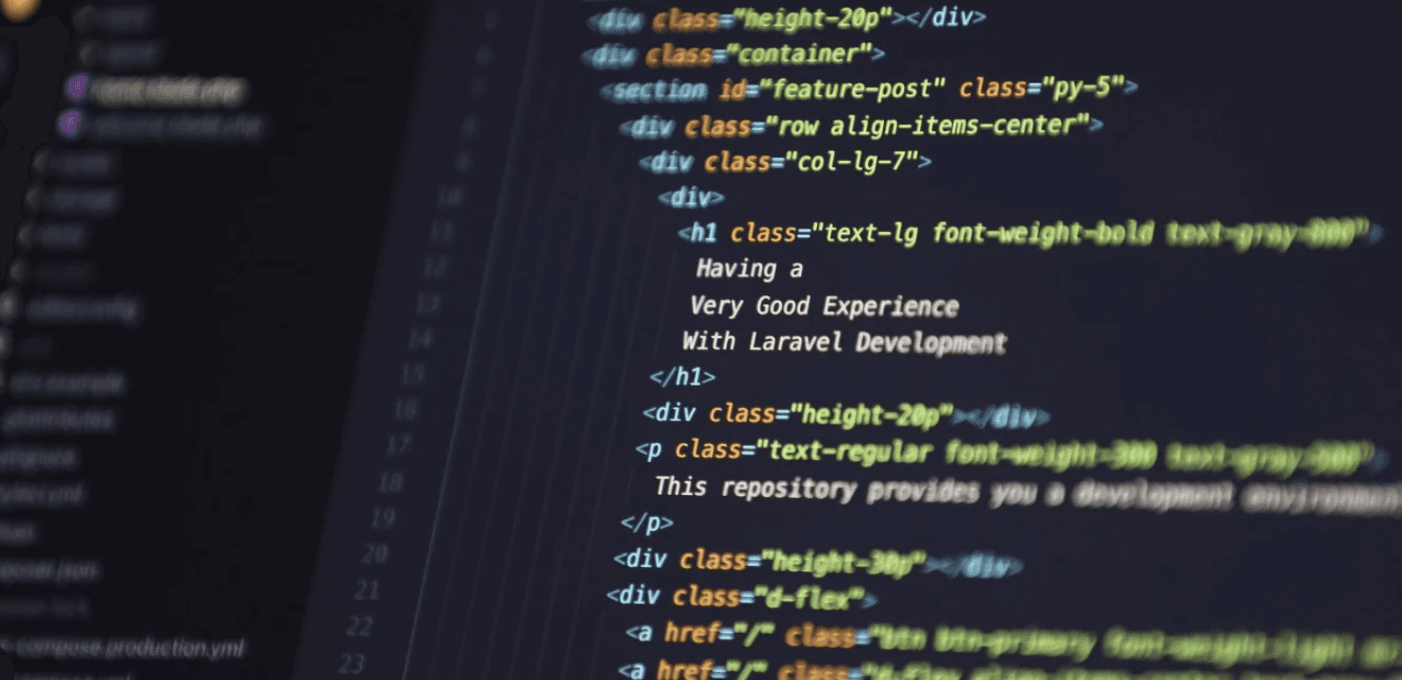
Laravel is a popular PHP web application framework known for its elegant syntax, robust features, and developer-friendly approach. It was created by Taylor Otwell and was first released in 2011. Laravel follows the model-view-controller (MVC) architectural pattern, which promotes separation of concerns and helps in organizing code.
Here are some key features and concepts of Laravel:
- Routing: Laravel provides a clean and expressive syntax for defining routes. Routes determine how URLs are handled, allowing you to map URLs to specific controllers and methods.
- MVC Architecture: Laravel follows the MVC pattern, where models represent the data and business logic, views handle the presentation layer, and controllers manage the interaction between the model and view.
- Eloquent ORM: Laravel includes Eloquent, an object-relational mapping (ORM) library that simplifies database operations. It allows you to work with databases using PHP syntax instead of writing complex SQL queries directly.
- Blade Templating Engine: Laravel uses Blade as its templating engine, which provides a simple yet powerful way to create views. Blade templates are compiled into plain PHP code and offer features like template inheritance, sections, and control structures.
- Artisan CLI: Laravel includes a command-line interface called Artisan, which provides a range of helpful commands for tasks such as generating code, managing database migrations, and running unit tests.
- Database Migrations: Laravel's migration system allows you to version control and manage your database schema. Migrations provide a convenient way to create and modify database tables using PHP code, making it easy to collaborate with other developers.
- Authentication and Authorization: Laravel provides a built-in system for user authentication and authorization. It simplifies tasks such as user registration, login, and password resets, and offers fine-grained access control through roles and permissions.
- Caching and Session Management: Laravel supports various caching drivers, including popular options like Memcached and Redis. It also provides a session handling mechanism that allows you to store user-specific data across multiple requests.
- Testing: Laravel includes built-in testing support with PHPUnit. It offers tools for writing and running unit tests, as well as integration and acceptance tests, helping ensure the stability and quality of your application.
- Community and Ecosystem: Laravel has a vibrant and active community, which contributes to its growth and provides numerous packages and extensions. The Laravel ecosystem includes libraries for tasks such as handling payments, working with APIs, and managing queues.
Overall, Laravel aims to simplify the development process by providing an expressive syntax, comprehensive tooling, and a rich set of features. Its focus on developer productivity and code elegance has made it a popular choice for building web applications with PHP.
Where to find Laravel logs?
In Laravel, logs are typically stored in the storage/logs directory of your application. By default, Laravel uses the Monolog logging library to handle logging.
Within the storage/logs directory, you will find log files organized by date. The log files have names in the format laravel-YYYY-MM-DD.log, where YYYY-MM-DD represents the date of the log file.
To view the logs, you can open the log files using a text editor or use the command line. Here are a few ways to access the log files:
- Command Line: You can navigate to your Laravel project's root directory and use a command-line tool such as
cat(for Linux/Mac) ortype(for Windows) to display the contents of the log files. For example, to view the current day's log file, you can run:
cat storage/logs/laravel-$(date +%Y-%m-%d).log
- Log Viewer Packages: There are also third-party packages available that provide a graphical interface to view and analyze Laravel logs. These packages often offer additional features such as filtering, searching, and highlighting of log entries. Some popular log viewer packages for Laravel include "Laravel Log Viewer" and "Laravel Log Reader".
- Log Output Channels: Laravel allows you to configure multiple log channels, which determine where logs are written. By default, the "stack" channel is used, which writes logs to the
storage/logs/laravel.logfile. However, you can configure other channels to write logs to different locations, such as databases or third-party services. Check yourconfig/logging.phpfile to see the configured log channels and their respective destinations.
It's worth noting that in production environments, it's recommended to monitor and manage your logs using a dedicated log management system or tool. These systems centralize logs from multiple servers and provide features like search, filtering, and alerting to effectively analyze and troubleshoot issues in your application.
How to host Laravel projects on AWS?
To host a Laravel project on AWS (Amazon Web Services), you can follow these general steps:
- Set up an AWS Account: If you don't already have an AWS account, sign up for one at https://aws.amazon.com/. You will need to provide billing information, but many AWS services offer a free tier that allows you to get started without incurring charges.
- Launch an EC2 Instance: EC2 (Elastic Compute Cloud) is a virtual server in the cloud. Launch an EC2 instance to run your Laravel application. Choose an instance type based on your project requirements.
- Configure Security Groups: Security groups define inbound and outbound rules for network traffic to your EC2 instance. Open the necessary ports to allow HTTP/HTTPS traffic.
- Install LAMP Stack (Linux, Apache, MySQL, PHP): Laravel is built on PHP and requires a web server, database, and PHP environment. Install the necessary components on your EC2 instance. You can use tools like Amazon Linux, Ubuntu, or CentOS as the base operating system.
- Set Up a Database: Laravel relies on a database to store data. Install and configure a database server such as MySQL or Amazon RDS (Relational Database Service) on your EC2 instance. Make sure to create a database and user credentials for your Laravel project.
- Configure Virtual Host: Set up a virtual host in the web server configuration (e.g., Apache or Nginx) to point to your Laravel project's public directory. This ensures that incoming HTTP requests are directed to your application.
- Deploy Your Laravel Project: Transfer your Laravel project files to the EC2 instance. You can use Git to clone the project repository or manually upload the files via FTP/SFTP.
- Install Dependencies: Navigate to your Laravel project directory and run
composer installto install the project dependencies specified in thecomposer.jsonfile. - Set App Key: Generate a unique application key for your Laravel project by running
php artisan key:generatein the project directory. The application key is used for encryption and should be kept confidential. - Configure Environment Variables: Update the
.envfile in your Laravel project directory with the appropriate database connection details, cache settings, and other environment-specific configurations. - Start the Web Server: Start or restart the web server (Apache or Nginx) on your EC2 instance to apply the configuration changes.
- Set Up Domain and DNS: If you have a domain name, configure DNS settings to point your domain to the public IP address of your EC2 instance. You can use Route 53, AWS's DNS service, or any other DNS provider.
- Test Your Application: Access your Laravel application through the domain or the public IP address of your EC2 instance. Verify that everything is working as expected.
Remember to consider security practices such as using HTTPS, configuring SSL certificates, and implementing firewall rules to protect your application.
Note: The specific steps may vary based on your chosen AWS services, operating system, and web server configuration. It's recommended to refer to the AWS documentation and Laravel deployment guides for detailed instructions relevant to your setup.
How to host a Laravel project on GitHub?
To host a Laravel project on GitHub, you can follow these steps:
- Create a GitHub Account: If you don't already have one, sign up for a GitHub account at https://github.com/.
- Create a New Repository: Log in to GitHub and create a new repository for your Laravel project. Give it a meaningful name and description.
- Clone the Repository: On your local development machine, open a terminal or command prompt and navigate to the directory where you want to store your Laravel project. Use the following command to clone the empty repository you just created:
git clone https://github.com/your-username/repository-name.git
- Initialize Git in Your Laravel Project: Change your working directory to the newly cloned repository. Inside the Laravel project directory, run the following command to initialize Git:
git init
- Add Laravel Project Files: Copy your Laravel project files into the cloned repository directory.
- Commit and Push Changes: Use the following commands to commit the changes and push them to your GitHub repository:
git add . git commit -m "Initial commit" git push origin master
- Verify Repository Contents: Visit your GitHub repository page in your web browser to verify that your Laravel project files are now hosted on GitHub.
By following these steps, you have successfully hosted your Laravel project on GitHub. Other developers can now clone your repository, collaborate, and contribute to the project. It's a good practice to regularly commit and push your changes to keep your GitHub repository up to date.
How to deploy a Laravel project on DigitalOcean?
To deploy a Laravel project on DigitalOcean, you can follow these general steps:
- Create a DigitalOcean Droplet:
- Log in to your DigitalOcean account or sign up if you don't have one.
- Click on the "Create" button and select "Droplets."
- Choose your preferred configuration (size, region, etc.).
- Select a Linux distribution (e.g., Ubuntu) and choose the version you want.
- Add any additional options or features you need (e.g., backups).
- Choose a hostname for your Droplet.
- Click on "Create Droplet" to create the virtual server.
- Connect to Your Droplet:
- Once your Droplet is created, you'll receive an email with the IP address and credentials to access it.
- Use an SSH client (e.g., Terminal on macOS/Linux, PuTTY on Windows) to connect to your Droplet using the provided credentials.
- Run the following command:
ssh root@your_droplet_ip_address(replaceyour_droplet_ip_addresswith the actual IP address). - Set Up the Server Environment:
- Update the server packages by running:
apt updateandapt upgrade. - Install the required software packages, such as PHP, Composer, Nginx, and MySQL (or any other database of your choice). Refer to DigitalOcean's documentation for detailed instructions on installing these packages for your specific Linux distribution.
- Clone Your Laravel Project:
- Once the server environment is set up, navigate to the appropriate directory where you want to deploy your Laravel project.
- Clone your project's repository using Git:
git clone <repository_url>. - Move into the project directory:
cd <project_directory>. - Install Project Dependencies:
- Install project dependencies using Composer:
composer install. - Configure Your Environment:
- Copy the
.env.examplefile to.envand modify it with your project's specific configuration, such as database credentials, app key, etc. - Generate a new app key by running:
php artisan key:generate. - Set Up Database:
- Create a new database on your MySQL server.
- Update the
.envfile with the appropriate database connection details. - Migrate and Seed the Database (if applicable):
- If your project requires database migrations and seeders, run the following command:
php artisan migrate --seed. - Configure Nginx:
- Create a new Nginx server block configuration file for your Laravel project using a text editor:
nano /etc/nginx/sites-available/your_domain. - Add the following content to the file, replacing
your_domainwith your actual domain or IP address:
server { listen 80; server_name your_domain;
root /var/www/your_project/public; index index.php;
location / { try_files $uri $uri/ /index.php?$query_string; }
location ~ \.php$ { include snippets/fastcgi-php.conf; fastcgi_pass unix:/run/php/php7.4-fpm.sock; }
location ~ /\.ht { deny all; } }
- Save the file and exit the text editor.
- Enable the Nginx server block by creating a symbolic link:
ln -s /etc/nginx/sites-available/your_domain /etc/nginx/sites-enabled/. - Remove the default Nginx configuration file if you don't need it:
rm /etc/nginx/sites-enabled/default. - Test the Nginx configuration for syntax errors:
nginx -t. - Restart Nginx to apply the changes:
systemctl restart nginx. - Set Appropriate File Permissions:
- Adjust file permissions to allow the webserver to write to certain directories:
chown -R www-data:www-data /var/www/your_project/storage chown -R www-data:www-data /var/www/your_project/bootstrap/cache
- Access Your Laravel Application:
- Open a web browser and enter your domain name or IP address. You should see your Laravel application running on DigitalOcean.
These steps provide a general overview of deploying a Laravel project on DigitalOcean. The specific commands and configurations may vary depending on your project's requirements and the versions of software you are using. Always refer to the official documentation for Laravel and DigitalOcean for the most up-to-date and detailed instructions.
How to deploy a Laravel project on Vultr?
To deploy a Laravel project on Vultr, you can follow these general steps:
- Create a Vultr Instance:
- Log in to your Vultr account or sign up if you don't have one.
- Click on the "Deploy" button and select "Cloud Compute."
- Choose your preferred server location and server type (e.g., Ubuntu, CentOS, etc.).
- Select the server size and any additional options you need.
- Add a server hostname and label for your instance.
- Click on "Deploy Now" to create the virtual server.
- Connect to Your Vultr Instance:
- Once your instance is created, you'll receive an email with the IP address and credentials to access it.
- Use an SSH client (e.g., Terminal on macOS/Linux, PuTTY on Windows) to connect to your Vultr instance using the provided credentials.
- Run the following command:
ssh root@your_instance_ip_address(replaceyour_instance_ip_addresswith the actual IP address). - Set Up the Server Environment:
- Update the server packages by running:
apt updateandapt upgrade(for Ubuntu) oryum update(for CentOS). - Install the required software packages, such as PHP, Composer, Nginx, and MySQL (or any other database of your choice). Refer to Vultr's documentation or the official documentation for your specific Linux distribution for detailed instructions on installing these packages.
- Clone Your Laravel Project:
- Once the server environment is set up, navigate to the appropriate directory where you want to deploy your Laravel project.
- Clone your project's repository using Git:
git clone <repository_url>. - Move into the project directory:
cd <project_directory>. - Install Project Dependencies:
- Install project dependencies using Composer:
composer install. - Configure Your Environment:
- Copy the
.env.examplefile to.envand modify it with your project's specific configuration, such as database credentials, app key, etc. - Generate a new app key by running:
php artisan key:generate. - Set Up Database:
- Create a new database on your MySQL server.
- Update the
.envfile with the appropriate database connection details. - Configure Nginx:
- Create a new Nginx server block configuration file for your Laravel project using a text editor:
nano /etc/nginx/sites-available/your_domain. - Add the following content to the file, replacing
your_domainwith your actual domain or IP address:
server { listen 80; server_name your_domain;
root /var/www/your_project/public; index index.php;
location / { try_files $uri $uri/ /index.php?$query_string; }
location ~ \.php$ { include snippets/fastcgi-php.conf; fastcgi_pass unix:/var/run/php/php7.4-fpm.sock; }
location ~ /\.ht { deny all; } }
- Save the file and exit the text editor.
- Create a symbolic link to enable the Nginx server block:
ln -s /etc/nginx/sites-available/your_domain /etc/nginx/sites-enabled/. - Remove the default Nginx configuration file if you don't need it:
rm /etc/nginx/sites-enabled/default. - Test the Nginx configuration for syntax errors:
nginx -t. - Restart Nginx to apply the changes:
systemctl restart nginx. - Set Appropriate File Permissions:
- Adjust file permissions to allow the webserver to write to certain directories:
chown -R www-data:www-data /var/www/your_project/storage chown -R www-data:www-data /var/www/your_project/bootstrap/cache
- Access Your Laravel Application:
- Open a web browser and enter your domain name or IP address. You should see your Laravel application running on Vultr.
These steps provide a general overview of deploying a Laravel project on Vultr. The specific commands and configurations may vary depending on your project's requirements and the versions of software you are using. Always refer to the official documentation for Laravel and Vultr for the most up-to-date and detailed instructions.
Why Laravel is so popular
Laravel is popular for several reasons:
- Elegant Syntax and Development Workflow: Laravel provides a clean and expressive syntax, making it easy to read and write code. It follows the principle of "Convention over Configuration," reducing the need for repetitive and boilerplate code. Laravel's development workflow is designed to be efficient and developer-friendly, enabling rapid application development.
- Comprehensive Documentation: Laravel has extensive and well-written documentation, which makes it easier for developers to learn and use the framework effectively. The documentation covers all aspects of Laravel, including installation, configuration, and various features, making it a valuable resource for developers of all skill levels.
- MVC Architecture: Laravel follows the Model-View-Controller (MVC) architectural pattern, which promotes separation of concerns and helps organize code in a structured manner. This separation enhances code reusability, maintainability, and testability.
- Rich Feature Set: Laravel provides a rich set of features out of the box, making it suitable for building complex web applications. It includes features like routing, caching, session management, authentication, authorization, queueing, and more. Laravel's modular structure allows developers to add or remove components as needed.
- Eloquent ORM: Laravel includes Eloquent, an Object-Relational Mapping (ORM) system that simplifies database interaction. It provides an expressive syntax for querying the database and working with relationships between database tables, reducing the amount of SQL code developers need to write.
- Powerful Tools and Libraries: Laravel leverages various powerful tools and libraries, such as Blade templating engine, Artisan command-line interface, Laravel Mix for asset compilation, and Laravel Valet for local development environment setup. These tools enhance productivity and streamline the development process.
- Robust Community and Ecosystem: Laravel has a large and active community of developers. The community contributes to the framework by creating packages and extensions, sharing knowledge through forums, blogs, and tutorials, and actively supporting each other. This vibrant ecosystem provides developers with a wealth of resources and solutions to common problems.
- Laravel Forge and Envoyer: Laravel Forge and Envoyer are additional services provided by Laravel's creator, Taylor Otwell. Forge simplifies server provisioning and management, while Envoyer streamlines the deployment process, making it easier to deploy Laravel applications to various hosting platforms.
- Laravel's Continuous Evolution: The Laravel framework is actively maintained and developed, with regular updates and releases. The Laravel team continuously introduces new features, performance improvements, security patches, and bug fixes, ensuring that the framework remains up-to-date and reliable.
Overall, Laravel's combination of elegant syntax, extensive documentation, rich feature set, and strong community support has contributed to its popularity among developers for building robust and scalable web applications.