Best Plugins for Social Media Integration to Buy in July 2026
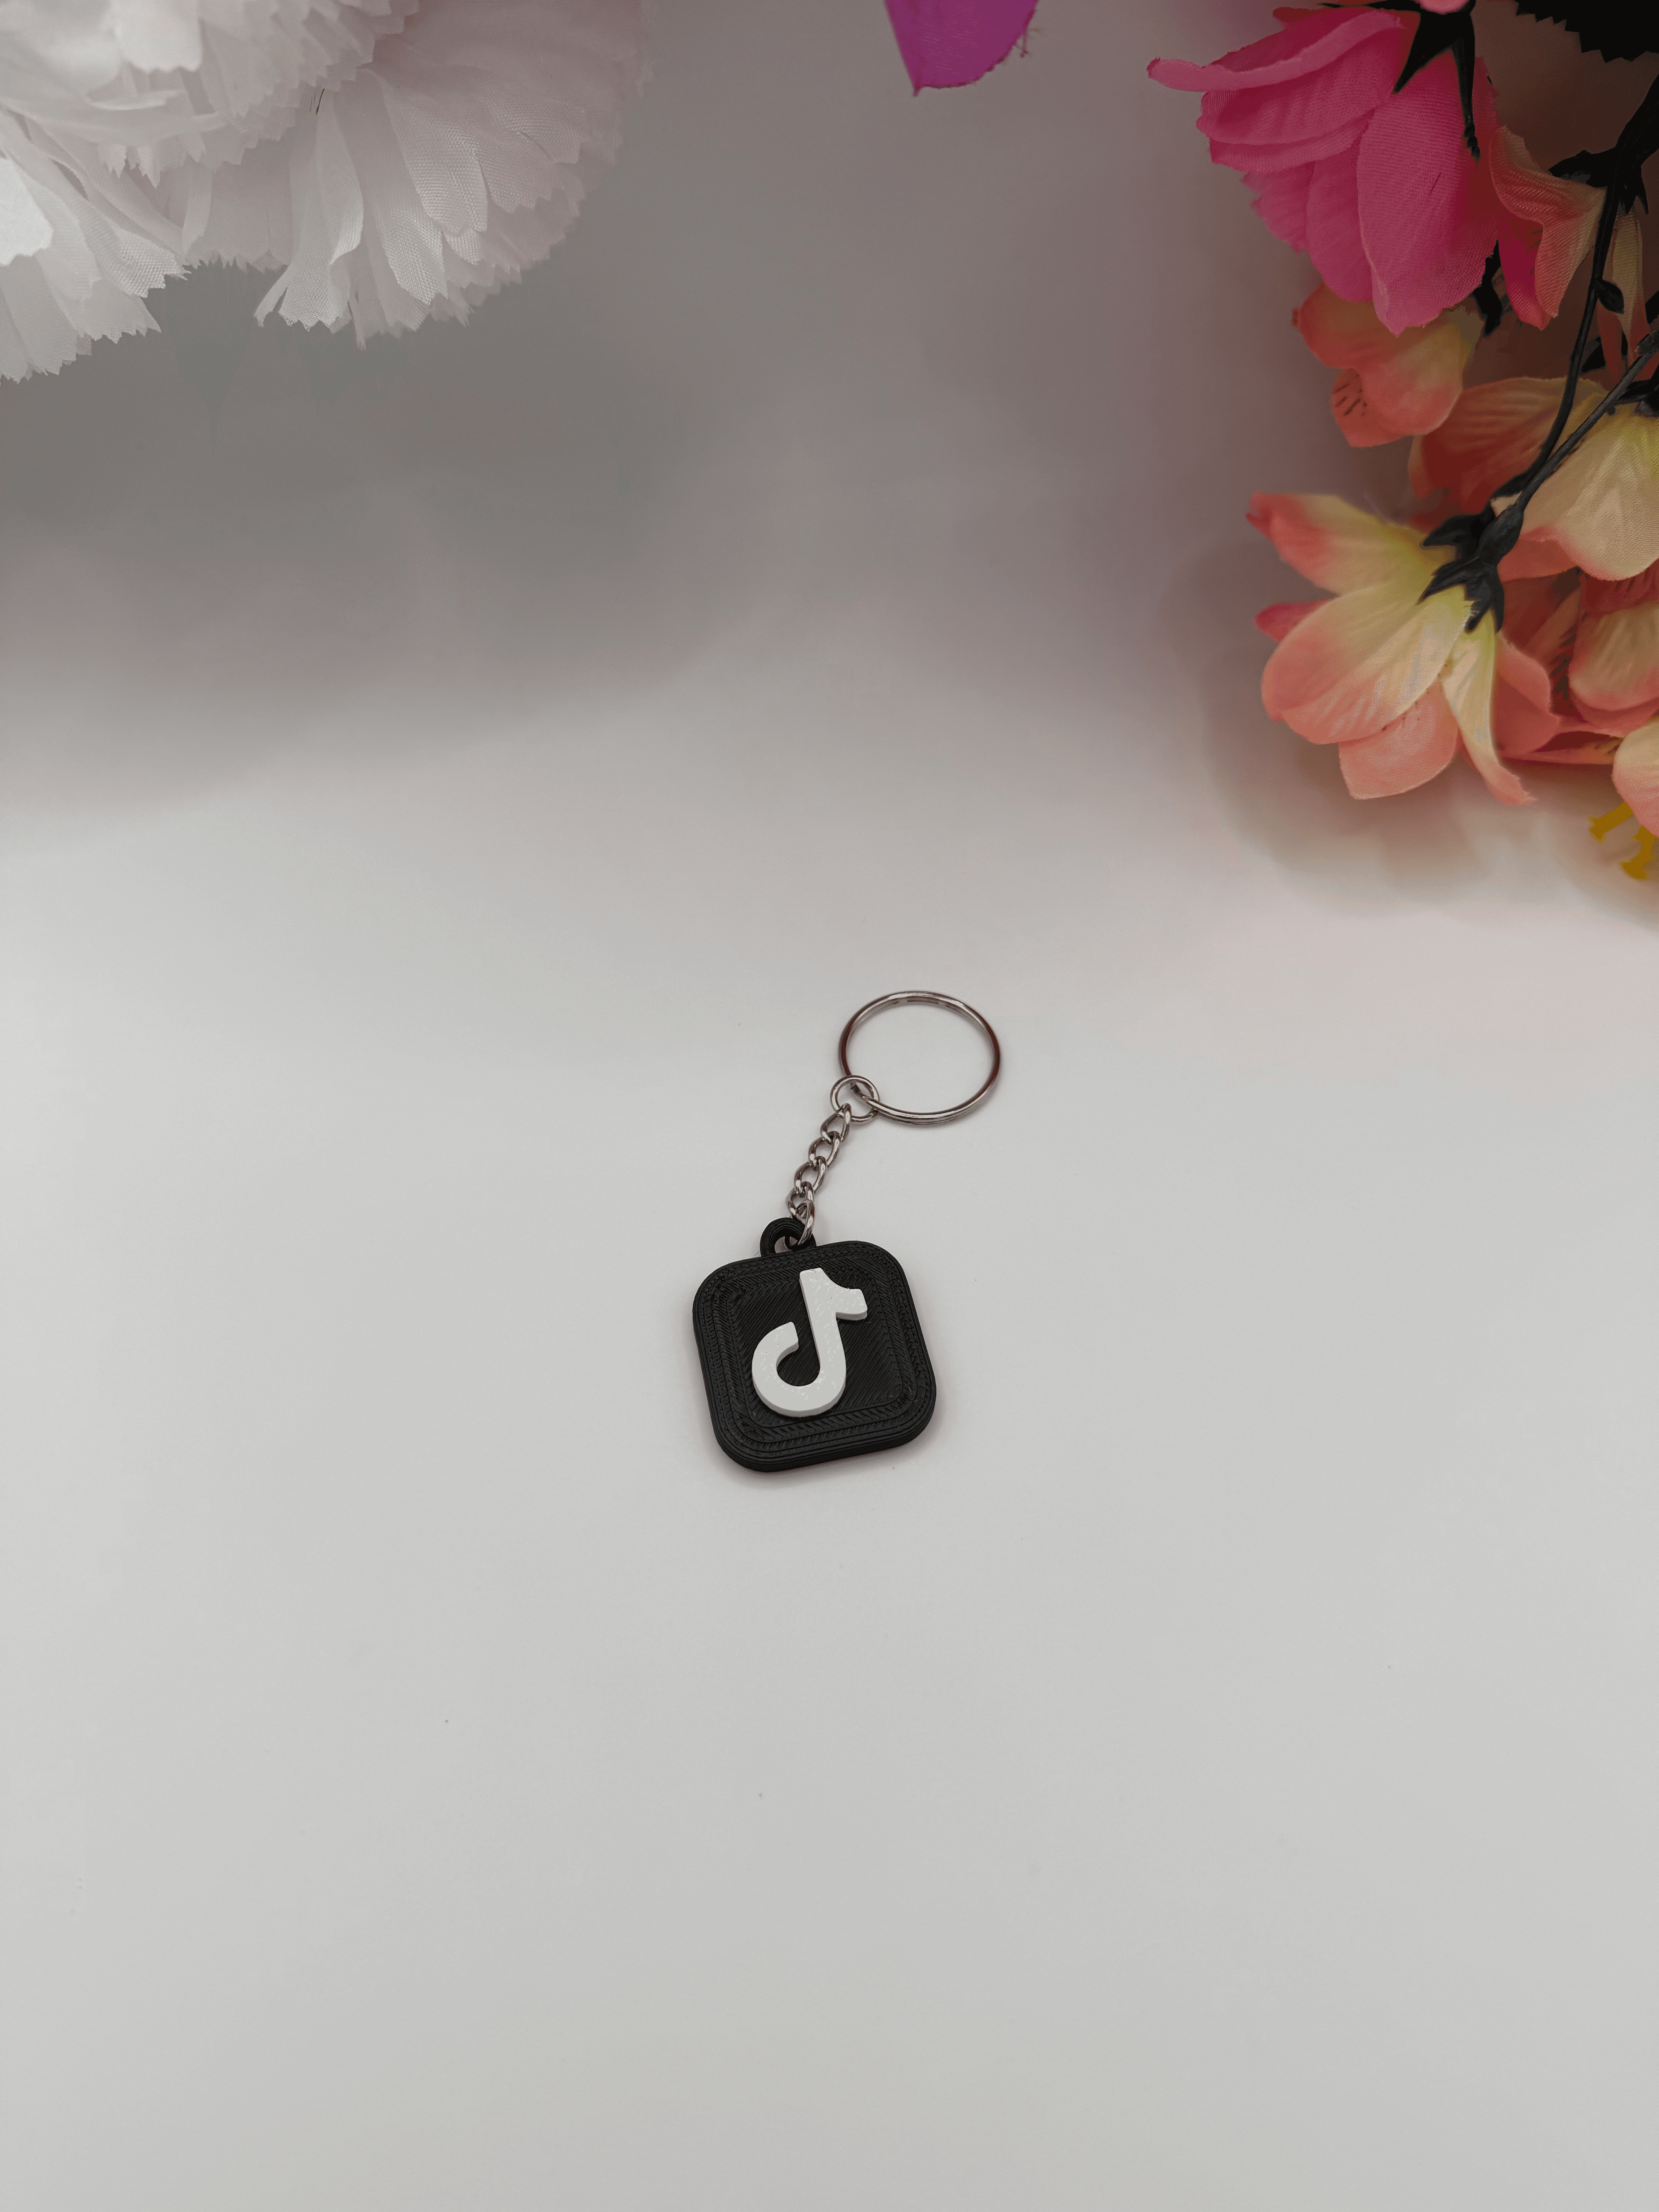
TikTok NFC Keychain 3D Printed Social Media Key Ring
-
SHOW OFF YOUR SOCIALS ANYWHERE: INSTANT ACCESS TO YOUR TIKTOK PROFILE!
-
DURABLE & LIGHTWEIGHT: 3D PRINTED FOR EVERYDAY USE, MADE TO LAST.
-
PERFECT GIFT FOR CREATORS: IDEAL FOR INFLUENCERS AND TIKTOK FANS ALIKE!
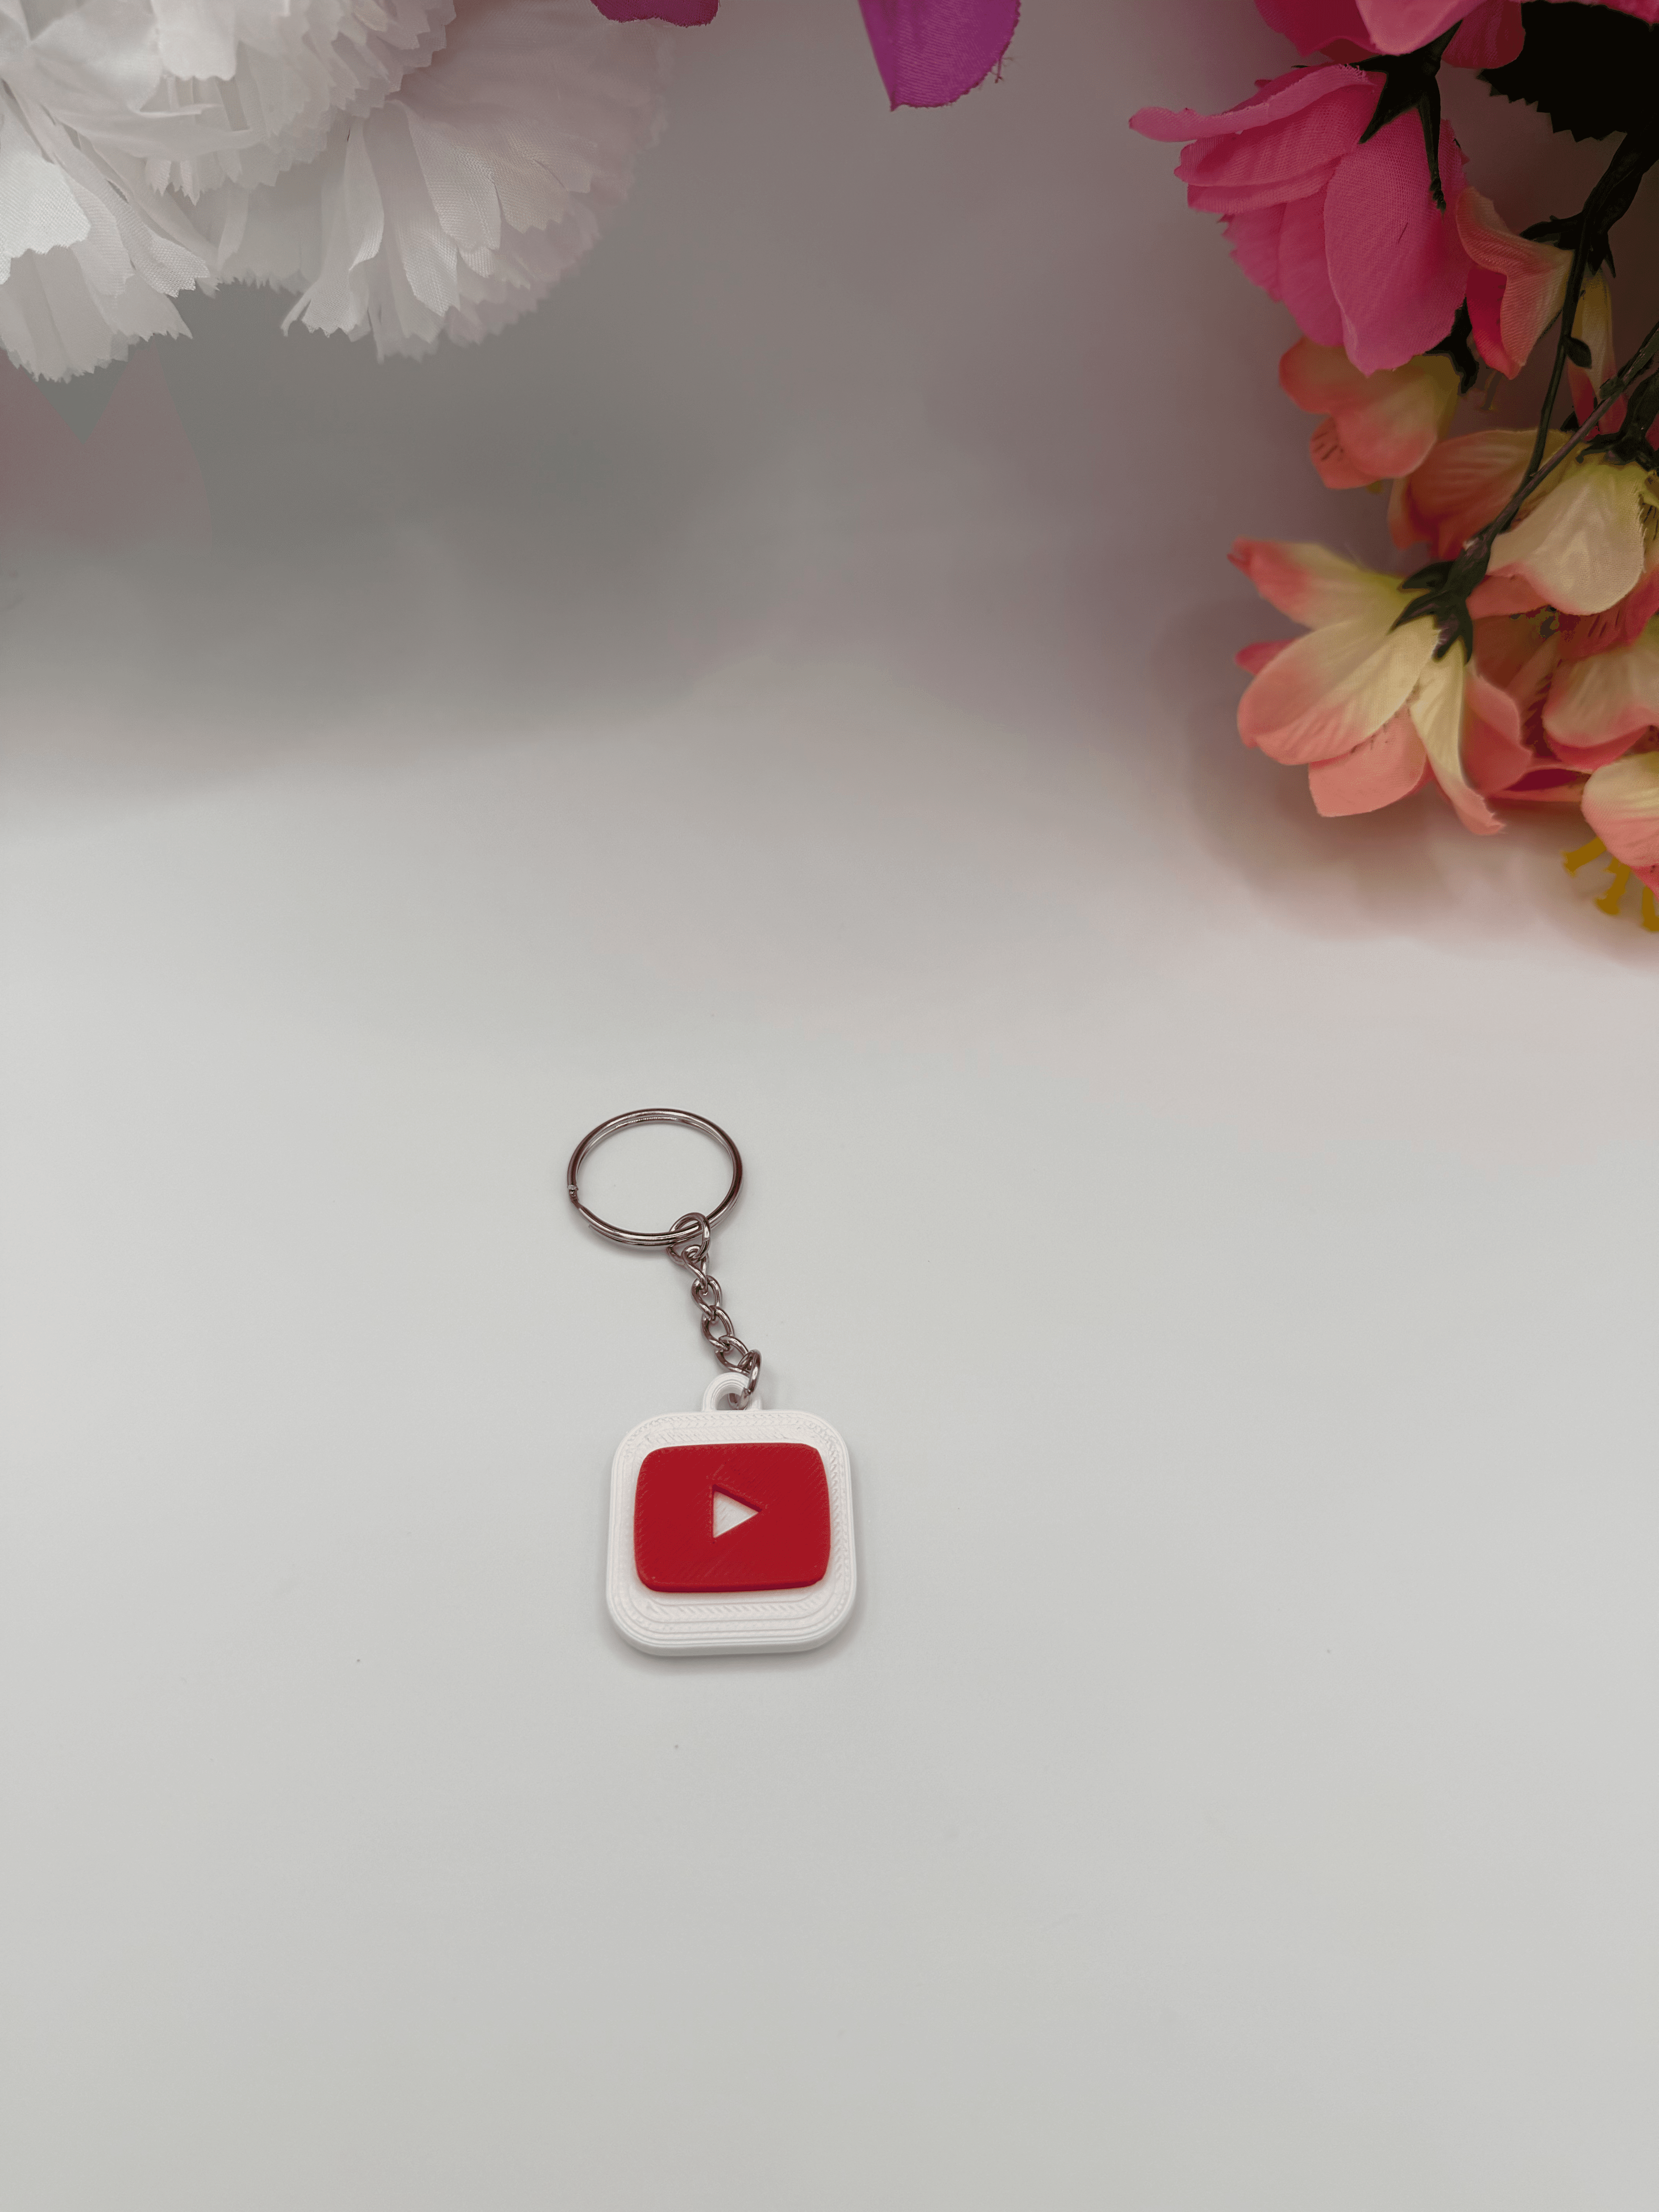
YouTube NFC Keychain 3D Printed Social Media Key Ring
- EFFORTLESSLY CONNECT FANS TO YOUR CHANNEL WITH A SIMPLE TAP!
- UNIQUE 3D PRINTED DESIGN: EYE-CATCHING AND DURABLE FOR EVERYDAY USE.
- PERFECT GIFT FOR YOUTUBERS AND CONTENT CREATORS-PRACTICAL & FUN!
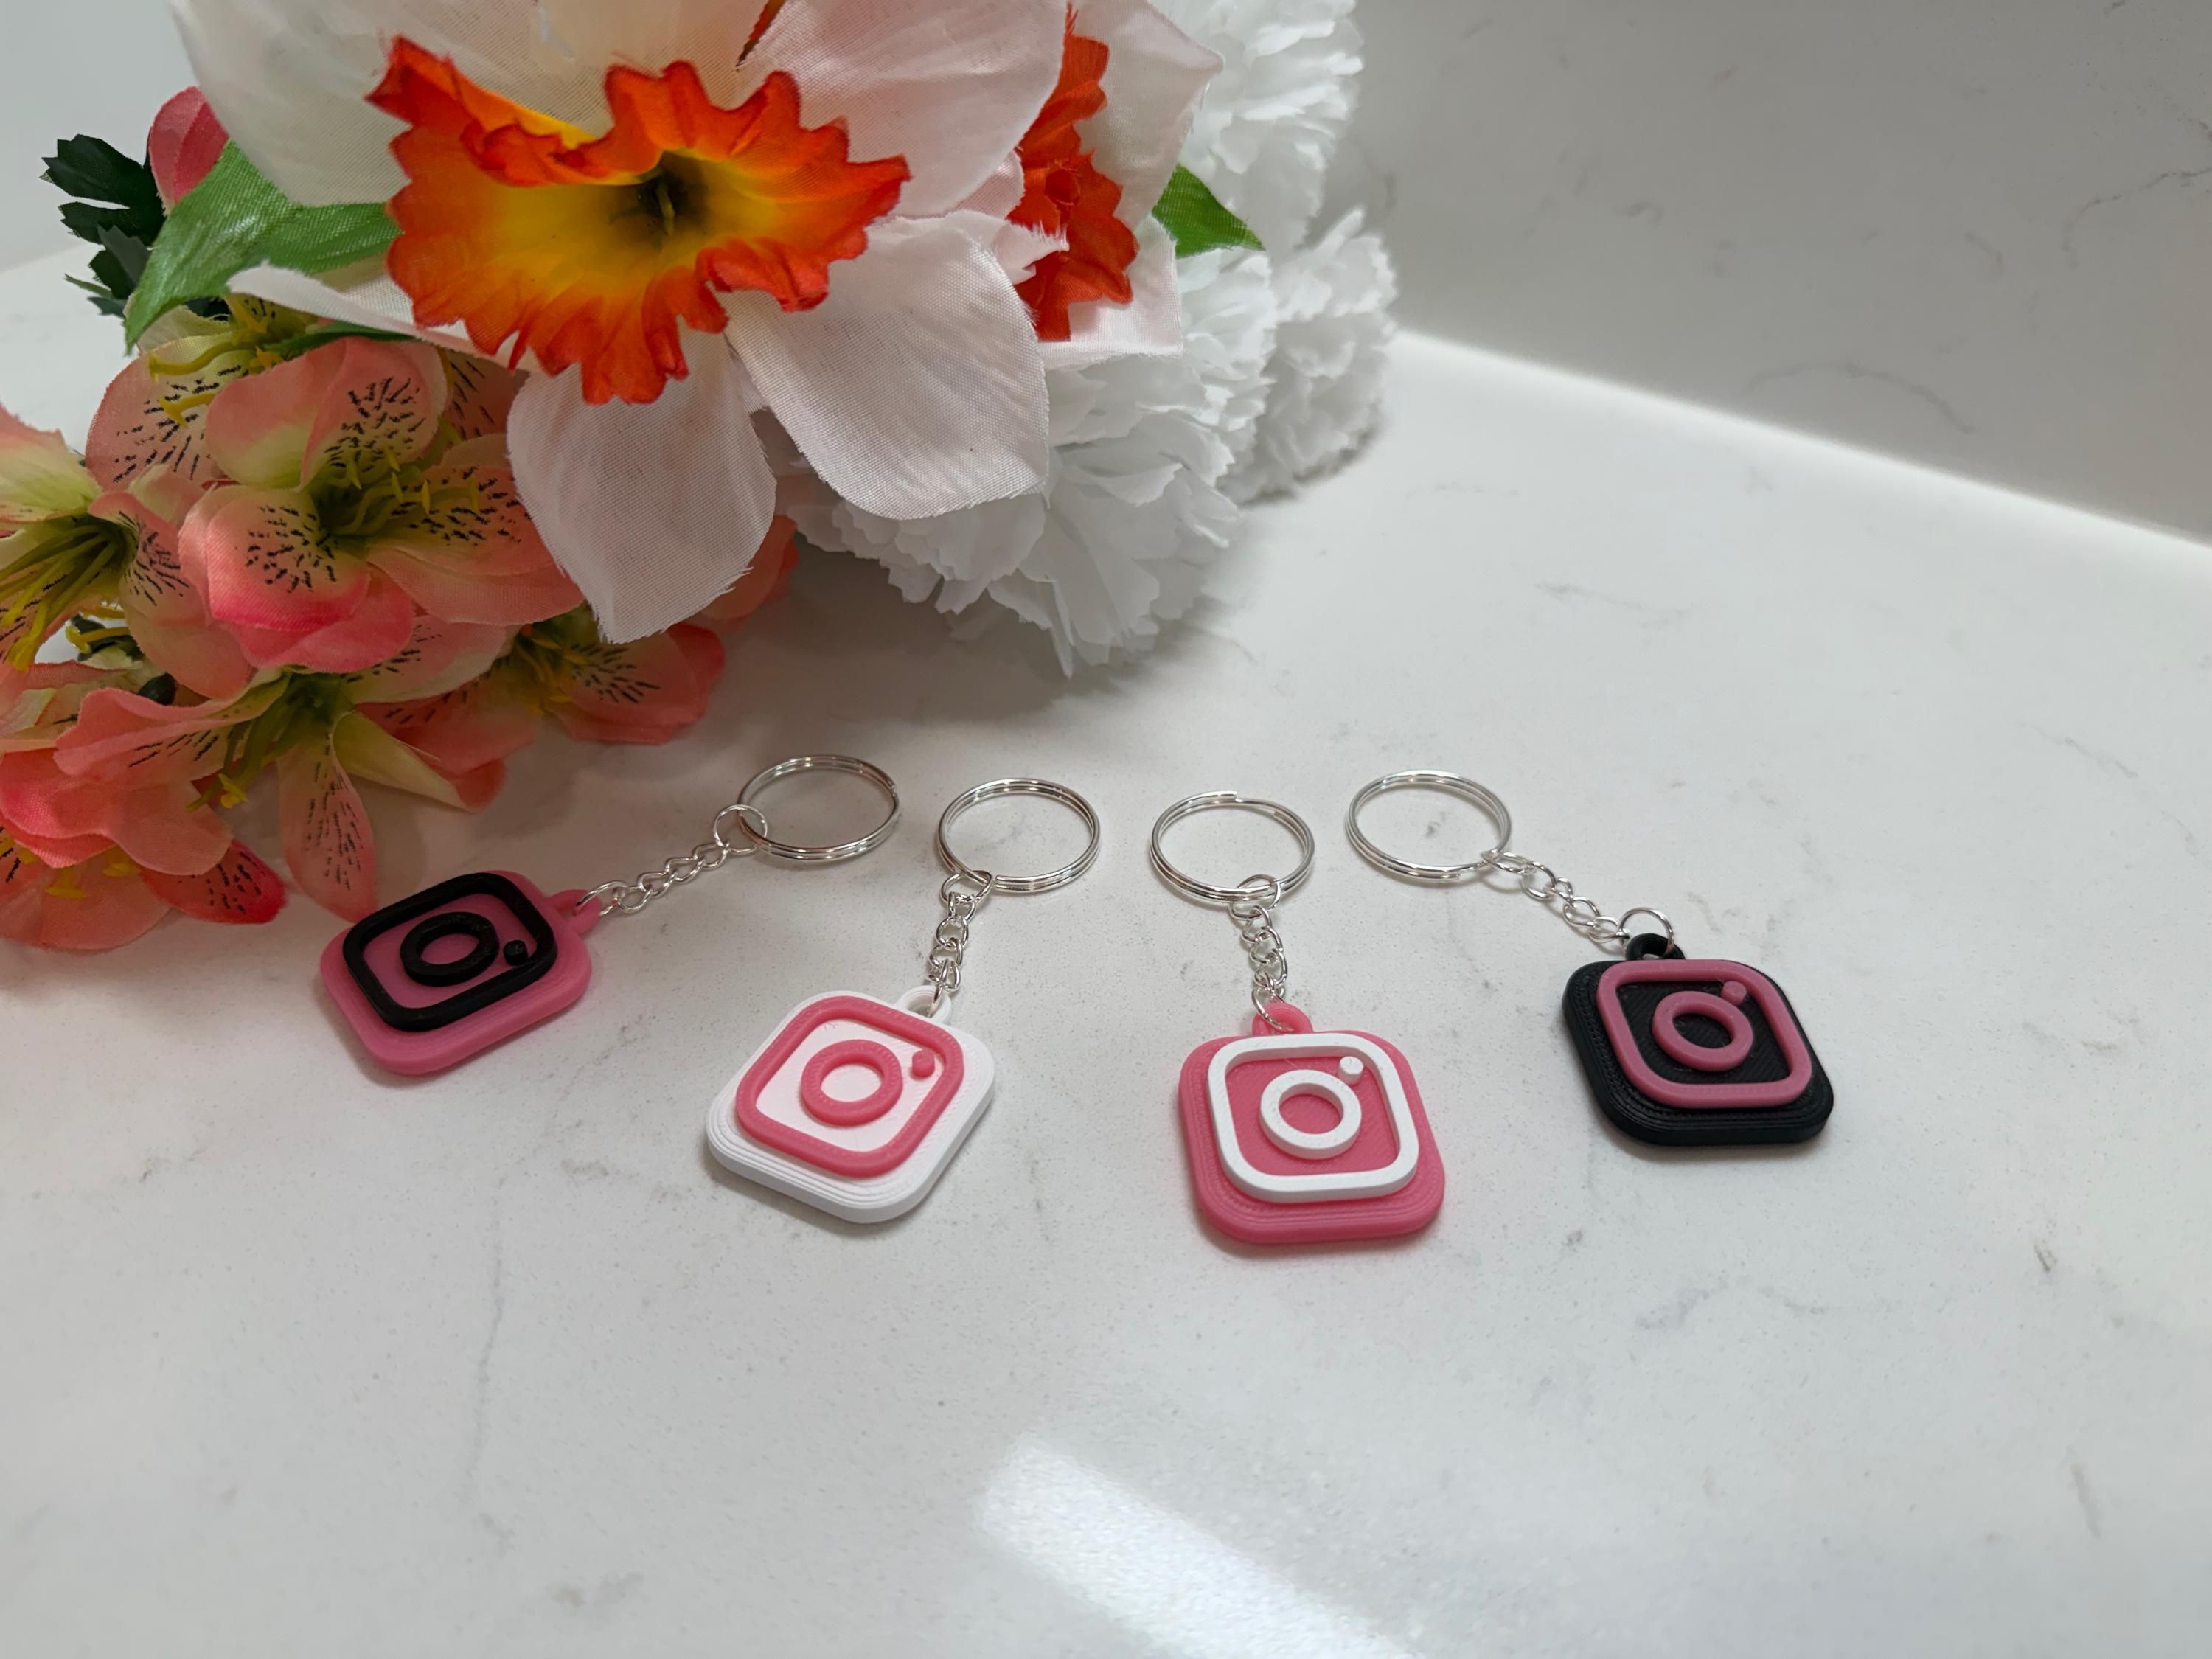
Custom Instagram NFC Keychain 3D Printed Tap to Share
- EFFORTLESSLY SHARE YOUR INSTAGRAM-JUST TAP FOR INSTANT ACCESS!
- LIGHTWEIGHT, CUSTOM KEYCHAINS-PERFECT FOR CREATORS AND SMALL BUSINESSES!
- PRE-PROGRAMMED AND READY TO USE; A SMART GIFT FOR TECH-SAVVY USERS!

Snapchat NFC Keychain 3D Printed Ghost Key Ring
- INSTANTLY SHARE YOUR SNAPCHAT WITH A SIMPLE PHONE TAP!
- CUSTOMIZABLE DESIGN FEATURING THE ICONIC SNAPCHAT GHOST!
- COMPACT 3D PRINTED KEYCHAIN, PERFECT FOR NETWORKING ON-THE-GO!

Unplug and Plug In: A Fun Guide to Boost Self-Esteem in a Social Media World


Designing Audio Effect Plugins in C++: For AAX, AU, and VST3 with DSP Theory
To add social media buttons to your WordPress site, you can follow these steps:
- Select the social media buttons you want to include on your site. You can choose from popular platforms like Facebook, Twitter, Instagram, LinkedIn, Pinterest, etc.
- Locate the social media icons you want to use. You can find a variety of free and premium social media icon sets available online. Download the icons and save them to your computer.
- Log in to your WordPress dashboard. Go to "Appearance" and click on "Widgets."
- Find the "Text" widget and drag it to the desired location on your sidebar, footer, or widget area.
- Edit the text widget by clicking on it. This will open a text editor where you can add HTML code.
- Open a new tab in your browser and search for "social media icon HTML code." You will find various websites that generate HTML code for social media icons.
- Select the social media icons you want to use, customize their appearance (size, color, shape), and copy the generated HTML code.
- Return to the WordPress text widget and paste the HTML code into the editor.
- Replace the placeholder URLs in the HTML code with the actual links to your social media profiles. For example, replace "https://www.facebook.com/your-page" with the URL to your Facebook page.
- Save the changes made to the text widget, and you should now see the social media buttons displayed on your WordPress site.
Remember, the method of adding social media buttons might vary based on the theme you are using or any plugins you have installed. If you encounter any difficulties, refer to your theme's documentation or consult the plugin's support resources for guidance specific to your setup.
How to include YouTube subscribe buttons on my WordPress sidebar?
To include YouTube subscribe buttons on your WordPress sidebar, you can follow these steps:
- Go to your YouTube account and Sign in.
- Navigate to your YouTube channel.
- Click on the Profile icon at the top right corner and select the "YouTube Studio" option from the dropdown menu.
- In YouTube Studio, click on the "Customization" tab from the left sidebar.
- On the customization page, select the "Layout" tab.
- Scroll down to find the "Channel layout" section and click on the "Add section" button.
- In the newly added section, select the "Subscribe" option from the dropdown menu.
- Customize the appearance of your subscribe button by selecting the desired layout, color, and typography.
- Once you are done with the customization, copy the generated HTML code for the subscribe button.
Now, you can add the YouTube subscribe button to your WordPress sidebar using a Text widget:
- Login to your WordPress Admin Dashboard.
- Go to "Appearance" and then click on "Widgets".
- Find the "Text" widget from the available widgets and drag it to your sidebar area.
- Open the Text widget to edit its content.
- Paste the HTML code that you copied from YouTube into the Text widget.
- Save the changes and go to your website to see the YouTube subscribe button in the sidebar.
By following these steps, you should now have YouTube subscribe buttons on your WordPress sidebar.
How to customize social media buttons on my WordPress site?
To customize social media buttons on your WordPress site, you can follow these steps:
- Install a social media plugin: WordPress has many plugins available that allow you to add custom social media buttons to your site. Some popular ones include "Simple Social Icons", "Social Media Share Buttons & Social Sharing Icons", and "Social Warfare". You can search and install these plugins from the "Plugins" section in your WordPress dashboard.
- Activate the plugin and configure settings: Once the plugin is installed, go to the plugin settings page (usually found under "Settings" or "Appearance"). Here, you will usually find options to configure the appearance, placement, and style of the social media buttons. Customize these settings according to your preferences.
- Add social media links: In the plugin settings, you will typically find options to enter your social media profile URLs for each platform you want to include. Enter the relevant links to your social media profiles.
- Choose button styles: Many social media plugins offer various pre-designed button styles. Select the one that matches your site's design or choose a style that you like. Some plugins also allow you to add custom icons or use Font Awesome icons.
- Position the buttons: Depending on the plugin, you can usually choose where you want the social media buttons to appear on your site. Common options include the sidebar, header, footer, or within your content. Configure the placement according to your preference.
- Preview and save changes: After customizing the settings, preview your site to see how the social media buttons look and make any necessary adjustments. Once you are satisfied, save the changes to have the buttons appear on your live site.
Remember that these steps may vary slightly depending on the social media plugin you choose to use.
How to include Snapchat Bitmoji buttons on my WordPress sidebar?
To include Snapchat Bitmoji buttons on your WordPress sidebar, you can follow these steps:
- Log in to your WordPress admin panel.
- Go to "Appearance" and select "Widgets" from the dropdown menu.
- Find the "Text" widget and drag it to your desired sidebar location.
- Open the "Text" widget by clicking on it.
- Copy and paste the following code snippet into the content area of the "Text" widget:
![]()
Replace "YOUR_SNAPCODE_USERNAME" in the above code with your actual Snapchat username. This will create an image link to your Snapchat profile.
- Click the "Save" button to save the changes.
Now, if you visit your WordPress site, you should see the Snapchat Bitmoji button in the sidebar, and clicking on it will redirect users to your Snapchat profile.
What is the best way to position/arrange social media buttons on my WordPress site?
When positioning and arranging social media buttons on your WordPress site, it's important to consider usability, visibility, and aesthetic appeal. Here are some best practices to follow:
- Consistency: Ensure the placement of social media buttons is consistent across your site. Visitors should know where to find them without searching on every page.
- Visibility: Choose a prominent location where the buttons are easily visible, such as the header, footer, sidebar, or below each blog post. Avoid burying them in menus or submenus.
- Above the fold: Place the buttons above the fold, meaning they should be visible without scrolling down the page. This ensures visitors don't miss them.
- Sticky or floating position: Consider making the buttons sticky or floating, so they remain visible even as visitors scroll down the page. This boosts engagement and makes it convenient for sharing.
- Minimalistic design: Don't overcrowd your site with too many social media buttons. Stick to the platforms that are most relevant to your audience. Choose a clean design that matches your site's overall aesthetic.
- Prioritize popular platforms: Place the buttons for popular social media platforms (e.g., Facebook, Twitter, Instagram) prominently, while less popular ones can be grouped separately or placed in secondary positions.
- Test different positions: Use tools like heatmaps or A/B testing to determine the most effective placement for your social media buttons. Monitor engagement metrics to evaluate their performance.
- Mobile-friendly design: Ensure that your social media buttons are responsive and adapt well to various screen sizes, especially on mobile devices. Optimize their placement for mobile users.
Remember, the goal is to make it convenient for your visitors to share your content, so consider their browsing behavior and preferences when deciding on the position and arrangement of social media buttons.
How to embed LinkedIn share buttons on my WordPress pages?
To embed LinkedIn share buttons on your WordPress pages, you can follow these steps:
- Install and activate a social sharing plugin on your WordPress site. Some popular options include Social Warfare, AddToAny, or ShareThis.
- Once the plugin is activated, go to your WordPress dashboard and navigate to the plugin settings.
- Look for the section that allows you to customize the social sharing buttons or add new buttons.
- Find the LinkedIn share button option and enable it.
- Configure the LinkedIn share button settings according to your preferences. This might include choosing the button style, size, or placement on your pages.
- Save your changes.
- Test the share button by going to one of your WordPress pages and checking if the LinkedIn share button is visible. If it's not visible, make sure you haven't disabled it in your plugin settings.
Note: The process may vary slightly depending on the social sharing plugin you choose, but the general steps remain the same.
How to display Shopify buy buttons on my WordPress blog?
To display Shopify buy buttons on your WordPress blog, you can follow these steps:
- Install the Shopify Buy Button plugin: Go to your WordPress dashboard, click on "Plugins" on the left sidebar, then click on "Add New". Search for the "Shopify Buy Button" plugin, install it, and activate it.
- Set up the Shopify Buy Button: After activating the plugin, go to the "Shopify" tab in your WordPress dashboard. Click on "Connect with Shopify" and follow the prompts to connect your Shopify account with your WordPress blog.
- Create a Buy Button in Shopify: In your Shopify dashboard, go to "Products" and select a product you want to display on your WordPress blog. Scroll down to the "Sales Channels" section and click on "Manage" beside "Online Store". Toggle on the "Buy Button" option and customize the button appearance and settings.
- Copy the Buy Button code: Once you've configured the Buy Button's appearance and settings, click on "Generate code" at the bottom. Copy the generated code.
- Add the Buy Button to your WordPress blog: Go back to your WordPress dashboard, click on "Pages" or "Posts" and select the page or post where you want to display the Buy Button. In the editor, switch to the "Text" or "HTML" mode (not the visual mode) and paste the copied code where you want the Buy Button to appear.
- Publish the page/post: After pasting the Buy Button code, switch back to the visual editor mode (if needed), and click on "Publish" or "Update" to make the page/post live on your WordPress blog.
- Preview the Buy Button: Visit your WordPress blog and navigate to the page/post where you added the Buy Button. You should be able to see the button live. Test it by clicking on it and checking if it directs you to the Shopify checkout page.
That's it! You have successfully added Shopify buy buttons to your WordPress blog. Repeat the above steps for each product you want to display.
How to install WordPress social media buttons plugins?
To install WordPress social media buttons plugins, follow these steps:
- Log in to your WordPress dashboard.
- Click on "Plugins" in the left sidebar menu, then select "Add New."
- In the search bar on the top right, type the name of the social media buttons plugin you want to install, such as "Social Warfare" or "AddToAny."
- Once you find the desired plugin, click on the "Install Now" button next to it.
- After the installation is complete, click on the "Activate" button to activate the plugin.
- Once activated, you can usually configure the plugin settings in the "Settings" or "Appearance" tabs in your WordPress dashboard.
- Look for options related to social media buttons or social sharing, and customize them according to your preferences.
- Save your changes, and the social media buttons should now appear on your website or blog posts, depending on the plugin's settings.
Note: The steps above are a general guide, and the specific process may vary slightly depending on the social media buttons plugin you choose. It is always a good idea to refer to the plugin's documentation or support resources if you need assistance.